Hi Everybody,
So glad you've joined us!

Welcome to our home. We’ve done a bit of decorating. It's been so much fun preparing for this event.

These are anniversary hearts that we found decorating our river cruise ship door. We took Molly's Rhine Cruise Trip in December. So wonderful!!! It was our 39th anniversary and our friends, you know who you are, made these wonderful artful paper hearts from stuff they found around the ship! Paper doilies, coasters, cotton balls, red tissue paper and who knows what all else. At the foot of the door there were red rose petals and two little red candle jars with the battery lights. It was so thoughtful and clever. We loved the paper cut hearts so much, that we came home and put them up on our french doors.

This little cupid Anna Lee Doll has been with us forever! She’s a little tattered but it wouldn’t be Valentine’s without her.

A very good friend made this for me for Christmas one year. The sentiment is so true. I loved that it is a heart!

You’ve got mail! These two funny little art dolls stay out year round even though they are meant for Halloween. It’s a boy and a girl, and you are only seeing the girl in this photo. The boy is sitting on the little chair beside her. He's a skeleton. She has a thought bubble of the boy and the boy has a thought bubble of the girl. I decorate them for every holiday.

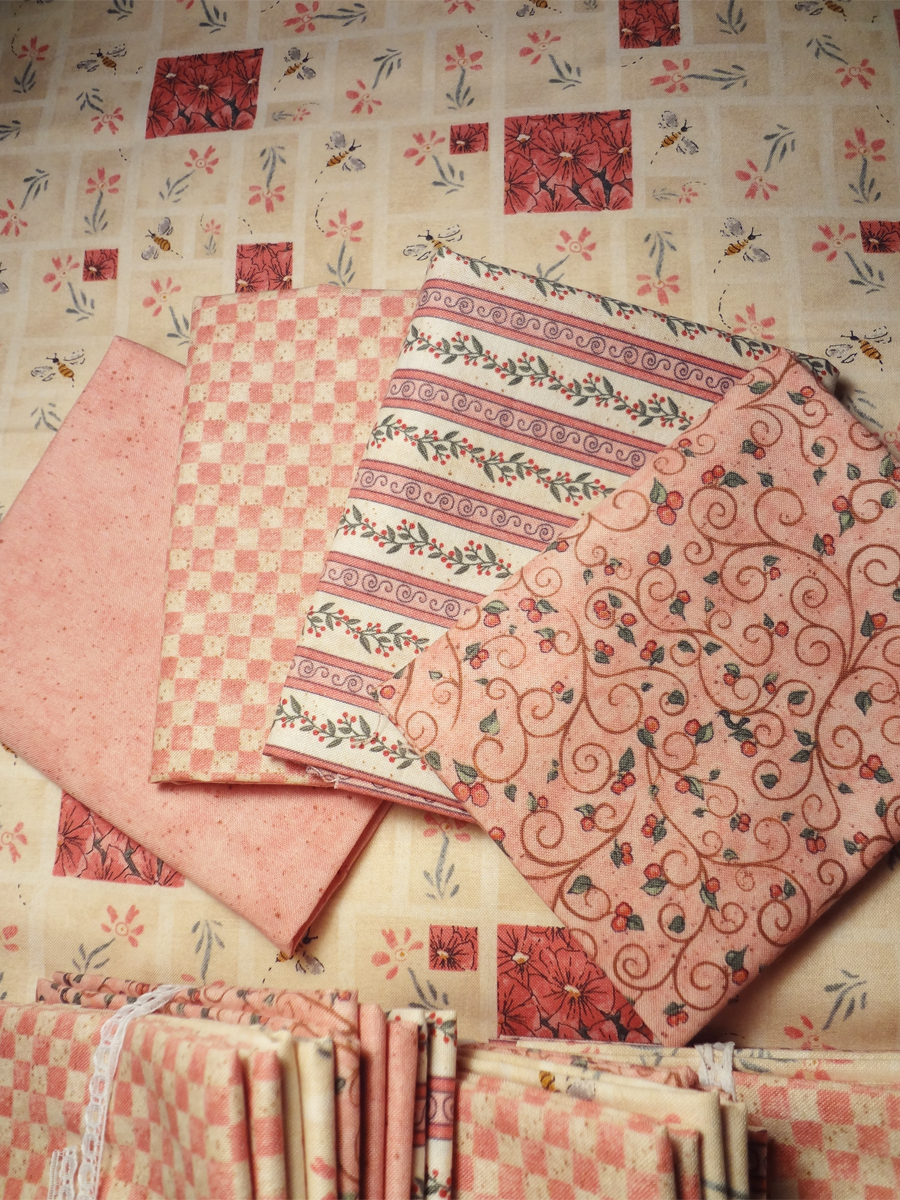
These little blue heart pillows made from old cutter quilts, are the inspiration for our 2012 color Valentine Blue. You’ll see how we’ve used it on almost all of the projects as well as the limited miniature pieces.
Let's start the party with some goodies.
Here's my new favorite recipe for Valentine's Day! It's from a blog called
Baked Perfection. Check them out, they have awesome recipes. I used her photo because, although I made them and they were a hit, mine just were not as pretty as this!
 Brown Sugar Blondiesadapted from Allrecipies.com
1 cup all-purpose flour
1/2 teaspoon baking powder
1/8 teaspoon baking soda
1/2 teaspoon salt
1/3 cup butter
1 cup packed brown sugar
1 egg
1 tablespoon vanilla extract
1 cup to 1 1/3 cup M&M's
Preheat oven to 350 degrees F (180 degrees C).
Mix together flour, baking powder, baking soda, and salt and set aside. Melt 1/3 cup butter. Add 1 cup firmly packed brown sugar and mix well. Cool slightly. Add egg (beaten) and vanilla and blend well. Add flour mixture, a little at a time, mixing well. Mix in 2/3 cup M&M's. Spread in 9 x 9 x 2 inch pan. Sprinkle 1/3 to 2/3 cup M&M's on top. Bake for 20 to 25 minutes. Store in airtight container at room temperature.
The next really yummy recipe is a sugar cookie that my sister makes. Cut them with a heart cookie cutter and frost them in pink and white. Use some of the cute sprinkles that are available. Again, not one of my pictures but a very good interpretation and another great blog to visit. This blog is called
Making Memories with Your Kids. This site has wonderful ideas for projects with kids. This is her picture of heart sugar cookies which look a whole lot like my sister’s cookies.

Here's my sister's recipe...
Goldie's Giant Sugar Cookies350º for 10 - 12 minutes
1/2 cup shortening
3/4 cup sugar
1 t. vanilla
1 egg
2 cups flour
1/2 t. baking soda
1/2 t. baking powder
1/2 t. salt
2 -3 T milk
Cream shortening and sugar. Add egg and vanilla. Sift flour with baking powder, baking soda and salt. Add to the sugar mix with milk. Try not to work the dough too hard so that the cookies will have a nice texture and not be tough. Roll out on a sugar and floured surface until about 1/4" thick. Cut with a heart shaped cookie cutter and arrange on a nonstick cookie sheet or parchment. Not too close as they do grow a bit as they cook.
Remove from oven and set cookies out on rack. Frost when cool.
Frosting - Make some from scratch with confectioner's sugar, shortening, vanilla and a tiny bit of milk. I just dump the ingredients in a bowl, maybe start with 1/2 cup of shortening and add the other stuff until it feels right for frosting cookies. Or you could buy ready made frosting.
Last but not least is a recipe for a Chocolate Fondue. Soooo easy and elegant.
Chocolate Fondueadapted from a Hershey CookbookTwo 8 oz milk chocolate Hershey bars
One 4 oz dark chocolate bar
Can of evaporated milk
1/2 teaspoon almond extract
* Assorted Fondue Dippers: pound cake pieces, marshmallows, cherries, grapes, mandarin orange segments, pineapple chunks, strawberries, fresh fruit slices
1) Break chocolate in pieces and add milk
Microwave for 1 1/2 - 2 min. or until chocolate is melted - check often
2) Stir and add almond extract
Pour in fondue pot to keep warm
Serve warm with Assorted Fondue Dippers.
On to the PROJECTS!
The first DIY that I have for you is called "Sweet Heart".

The first thing you need is a 1.75 oz. box of Russell Stover chocolates. We only need the box, so you can eat the candies. There are only 3 chocolates in this little box, after all!
Remove all of the innards. Go look through your stash and see if you can find a door and window. You can make the shutters and steps from basswood and use heart shaped cutouts. You will also need a small gift box, some lace and trims. I like using gauze around the outer edge for the tattered kind of look. Look through your scrap book papers for a stripe that looks like clapboard or maybe you'll see something else that would look great, use your imagination!
OK, now having told you to use your imagination and to rummage your stash, if you want to use the same window, door, door plate and knob, shutters, steps, window box and paper we can help you with that. So, we have put together a little Sweet Heart Kit that includes all of those pieces mentioned. You can find it on our website and there is a
link right here on the blog. You will still have to get the heart box and eat the candy. Sorry.
Trace the cover of the heart on to your chosen paper and cut it out.
Fix the corner point of the heart box with a little strip of paper,

folded and glued on.

Use some Titanium White acrylic tube paint and give the cover edges, the interior cover, the front, and the entire bottom of a coat of white paint. This is just an undercoat. You will need to be careful not to build up paint on the outer sides of the bottom as you want the cover to fit on and off.
When the white is dry, paint the entire box with pink or the color of your choice. I dry brushed with white after my pink paint was dry to give it a little texture.
Test fit and glue your paper heart on the cover. There should be a little space on the face edge around which you’ll glue some trims later. Lay out your door and window for spacing. Next thing to do is to trace around your window edge and then go about 1/16” in from the edge and make another line which will be your cutting line. This will give you enough of an edge to which to glue your window.

Paint your window, door, and all the other little trims as you like. Glue them in place. I added the window first, then the door, shutter and then the door bottom edge, steps and window box.
Find a little jewelry box that fits behind the window. Paper or paint the inside and then fill it with miniature goodies. Test it to the back of the window to make sure they show well. When you have it the way you like, glue the box to the inside of the cover and allow to dry.

Add some lace or cut a strip of colored gauze to go around the outer edge of the box. Add a tiny trim to the front edge. I also added a satin ribbon around the box band and made a loop and bow so that I could hang it.

Not stopping there, I decided to pad the inside with some of my fabric. Cut a heart shape from shirt box weight cardboard that fits the bottom. Cover one side with batting and then over that a piece of fabric cut just a bit larger. About 1/4” bigger all around. Pull the edges over the cardboard edges and glue to the back side of the heart. Clipping the edge helps the fabric go around the curves better. Cut two pieces of cardboard strips that fit the inside band. They should fit from top to the point, one on each side. Do the same technique with batting and fabric. Glue the heart shape in first and then add the sides, clamp as you go so that it keeps its shape.

I then made a little wool and batting heart shaped Pin and Thimble Keep to go inside. I think I have a tiny pair of scissors with red handles somewhere...
 Alternative Idea...
Instead of making a utilitarian sewing keep for the inside, you could make a miniature room. If you do that, I would leave off the box that covers the back of the window and trim it and add a teeny curtain. Would love to see what you all come up with!
How about a quick tutorial on mixing the paint color we're calling
Valentine Blue?
You might find just the color already made, but if not this is what you do...
Begin with a small blob of turquoise. Add to that a dot of a primary true blue color - the ratio is about 5 to 1. Then mix in ivory until it is as light as you like it. You can make it in any amount you like, but I always begin with just a tiny bit until I get the ratio of color correct. Remember, paint will likely dry darker than it is when it is wet. Good to keep in mind when you're mixing colors.
It's HERE!!! Our latest Secret Book - "Sweet Nothings"
Sweet Nothings Secret Book Kit
This book kit includes a secret slide out drawer with one room. The scale of the room is 1/4”. It is a Valentine’s or everyday sweetie book. Interior not included. The cost of this kit is $8.00

Sweet Nothings Valentine’s Secret Book Interior Kit
This kit includes a 1/4” scale sweetheart desk and all the goodies to fill it. Included as well is a wonderful 1/4” heart shaped box of chocolates with a separate cover so that you see the little chocolates. Several oval gift boxes and bags are also in the kit and lots of pre-cut little hearts to decorate the room. The price of this kit is $14.00
Hope on over to our website to order Secret Books.A Tiny Heart

This is a quick and easy little project. I started this with one of the many little fabric hearts that I bought when we were in France with Molly Cromwell’s tour. They are actually Christmas ornaments, but I was already thinking ahead to Valentine’s even though I didn’t yet know what I wanted to do with these dear little hearts.
You can make yourself a simple little sewn heart out of cotton or even wool or felt. Just cute two heart shapes and stitch them together with some stuffing inside. They could be stitched right sides together and then turned or just sandwiched with pinked edges and stitched right around the heart. OR...you could take a heart shaped cookie cutter and push fabric and stuffing into it from the back. I would use something like a recycled sweater - a knit fabric that would mold to the shape. Then glue a piece of card stock to the back and trim to shape. (I so wanted to get this cookie cutter/sweater one finished, but ran out of time)
Decide what you might like to put inside. I wanted to use a teeny tiny pie safe with heart shaped piercing. It’s the one that comes with our
Sweet Annie Secret Book Interior. I then measured and drew out the shape to cut from card stock for a little box. Start with the box shape and then draw another line on all four sides that will give you the depth you want.

Cut it out with an x-acto knife. Cut away the corners and score the box lines so it will fold easily. Fold the sides in and then use 4 little paper strips glued at each corner to help keep them glued together. Let it dry and paint or paper.

Cut an X in the center of the heart where you will insert the box.

Keep test fitting and increasing the size of the X until the box fits in. You will most likely need to remove the stuffing where the box will fit. Glue it in and fiddle with it until the edges look nice and it is even. You can add some lace or trim to cover the raw edge or even add a little wood or metal frame. Glue in your treasure and voila!
Bunny Love
In keeping with the theme, I’m going to show you one more project.

This one is a complex version of the Tiny Heart. You start with a vintage, or a made to look vintage, stuffed animal or doll. I can’t show you the starting point as I forgot to take photos along the way! This is a style of altered art that I enjoy making. I’ll show you several photos of different parts of Bunny Love but the area I most want to focus on would be the tummy insert.

Basically it’s another box. You could use any shape that fits into your “find”. I used a wood frame to trim out the box on this one and then filled it with miniatures in various scales.
 Bunny Love
 is a homemaker, so there are various aspects of homemaking throughout the piece. In this type of assemblage, I like to use all types of medium.

She was missing one eye, so I gave her a new one. Her worn out spots became areas of added interest as I worked different bits of fabric, lace and paper into the sculpture.

Her shoes are baby shoes and they help her stand up along with the doweling into her legs. She was a joy for me to create and I hope this inspires you go out on a limb and try making something new and different this Valentine’s Day! Thanks for coming to our party. We hope you had a great time and got some new ideas!